2022-Current Toyota Tundra/2023-Current Toyota Sequoia Fender Flare Kit Installation Guide
Before the installation, remove the factory fender flares if equipped.
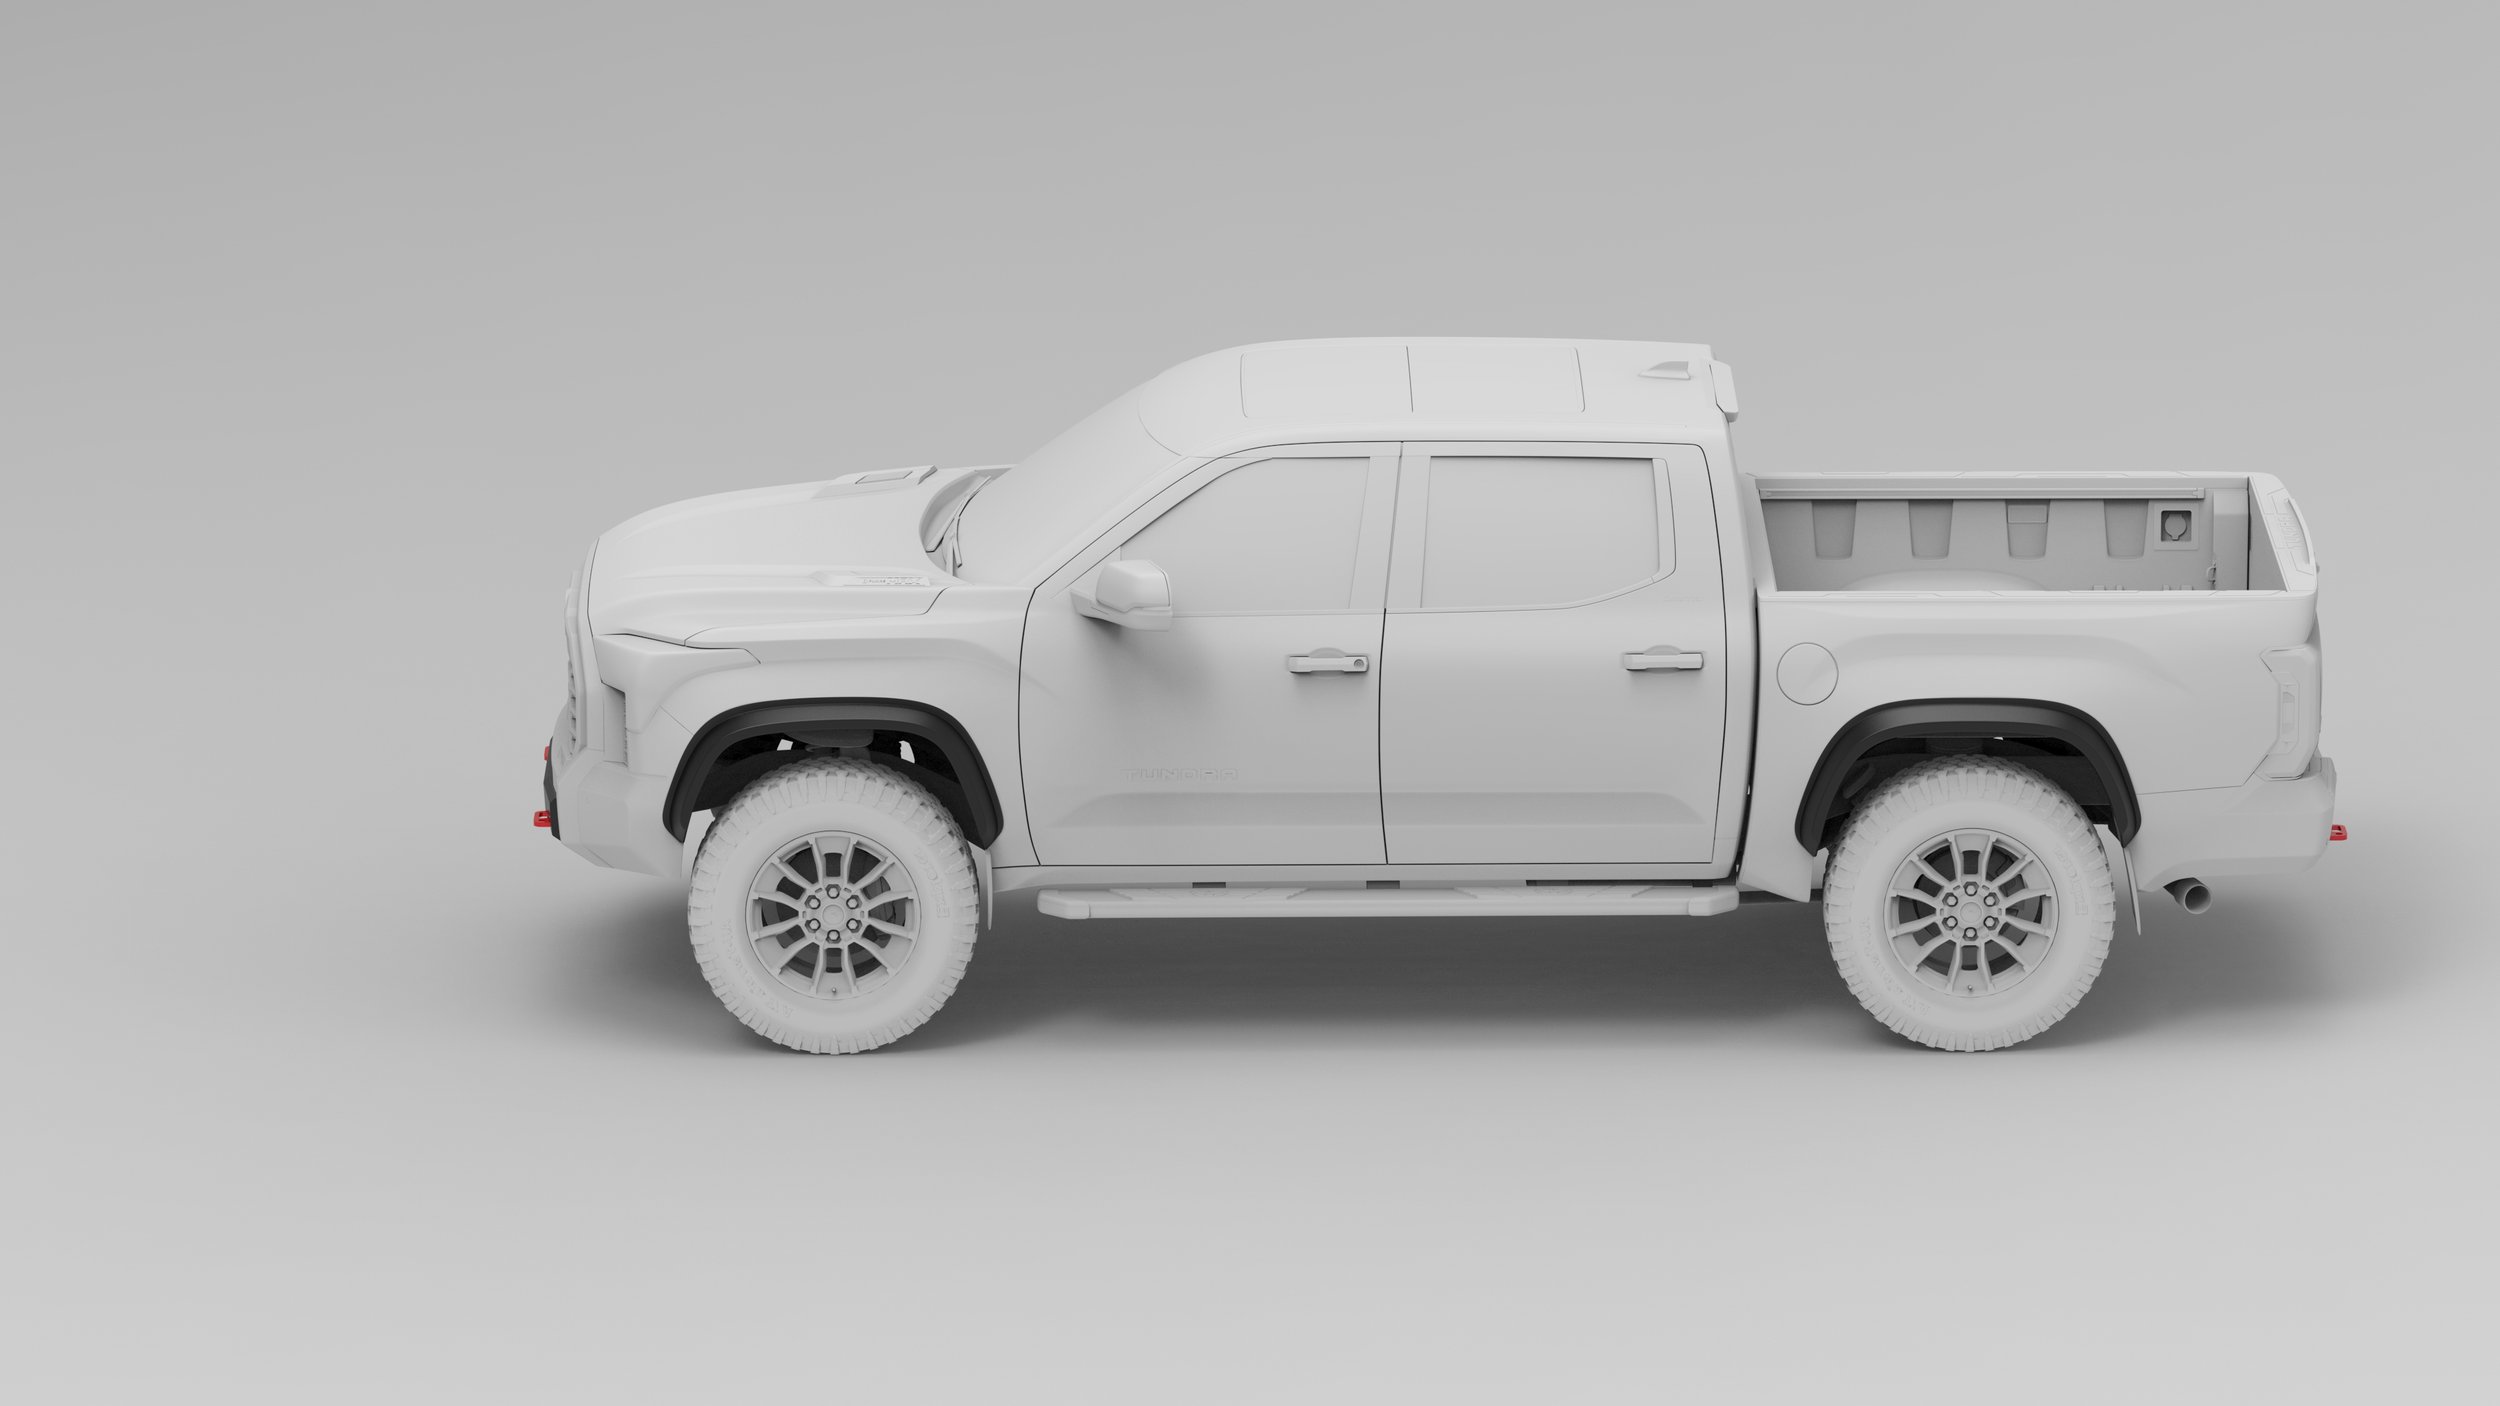
Locations of the bolts and push-pins are indicated in the image.
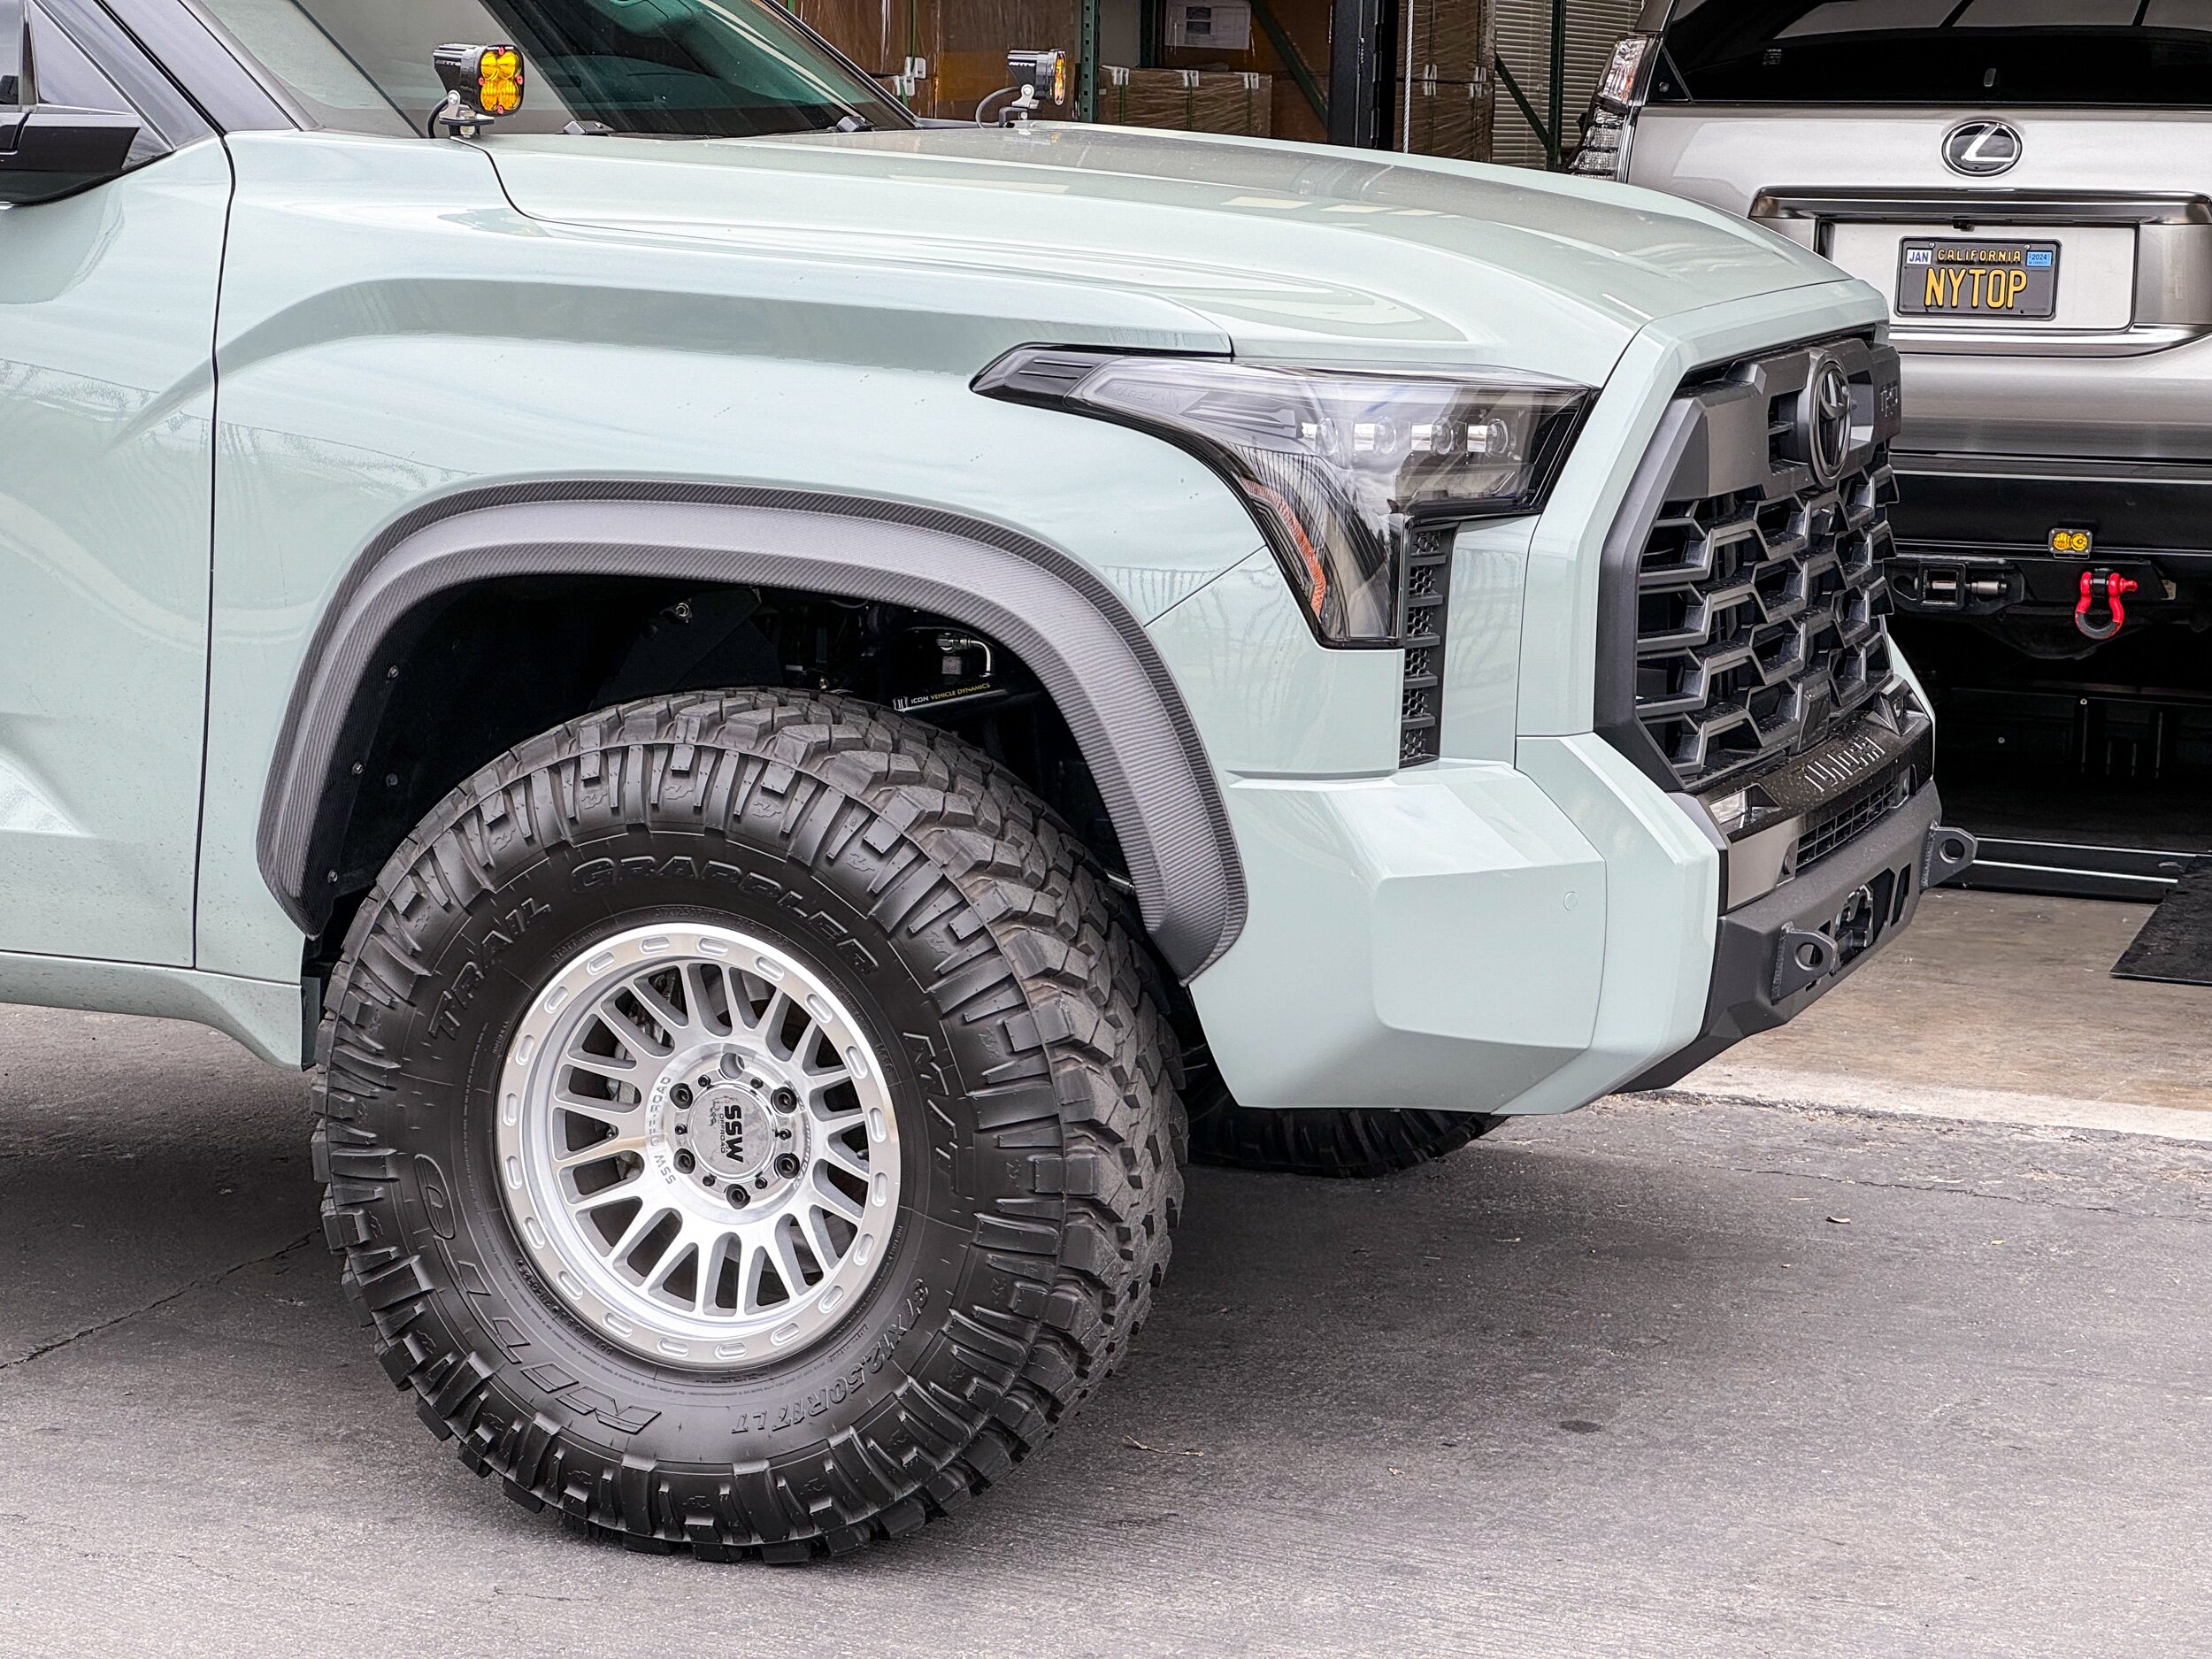
Tundra/Sequoia front fender shown in picture.
Note: Each flare is specific to each corner of the vehicle. Make sure to test fit before installing.
Tundra rear fender shown in picture.
Sequoia rear fender shown in picture.
Apply two layers of the 3M™ tape to the back side of the fender flares, as shown in the picture. Make sure to peel off the first layer before applying the second layer.
Leave the backing of the tape on for now.
We recommend applying adhesion promoter on the back side of the flares before installing the 3M™ tape to help with better adhesion.
Optimal surface temperature for the 3M™ Super Strength Molding Tape is above 65°F (18°C).
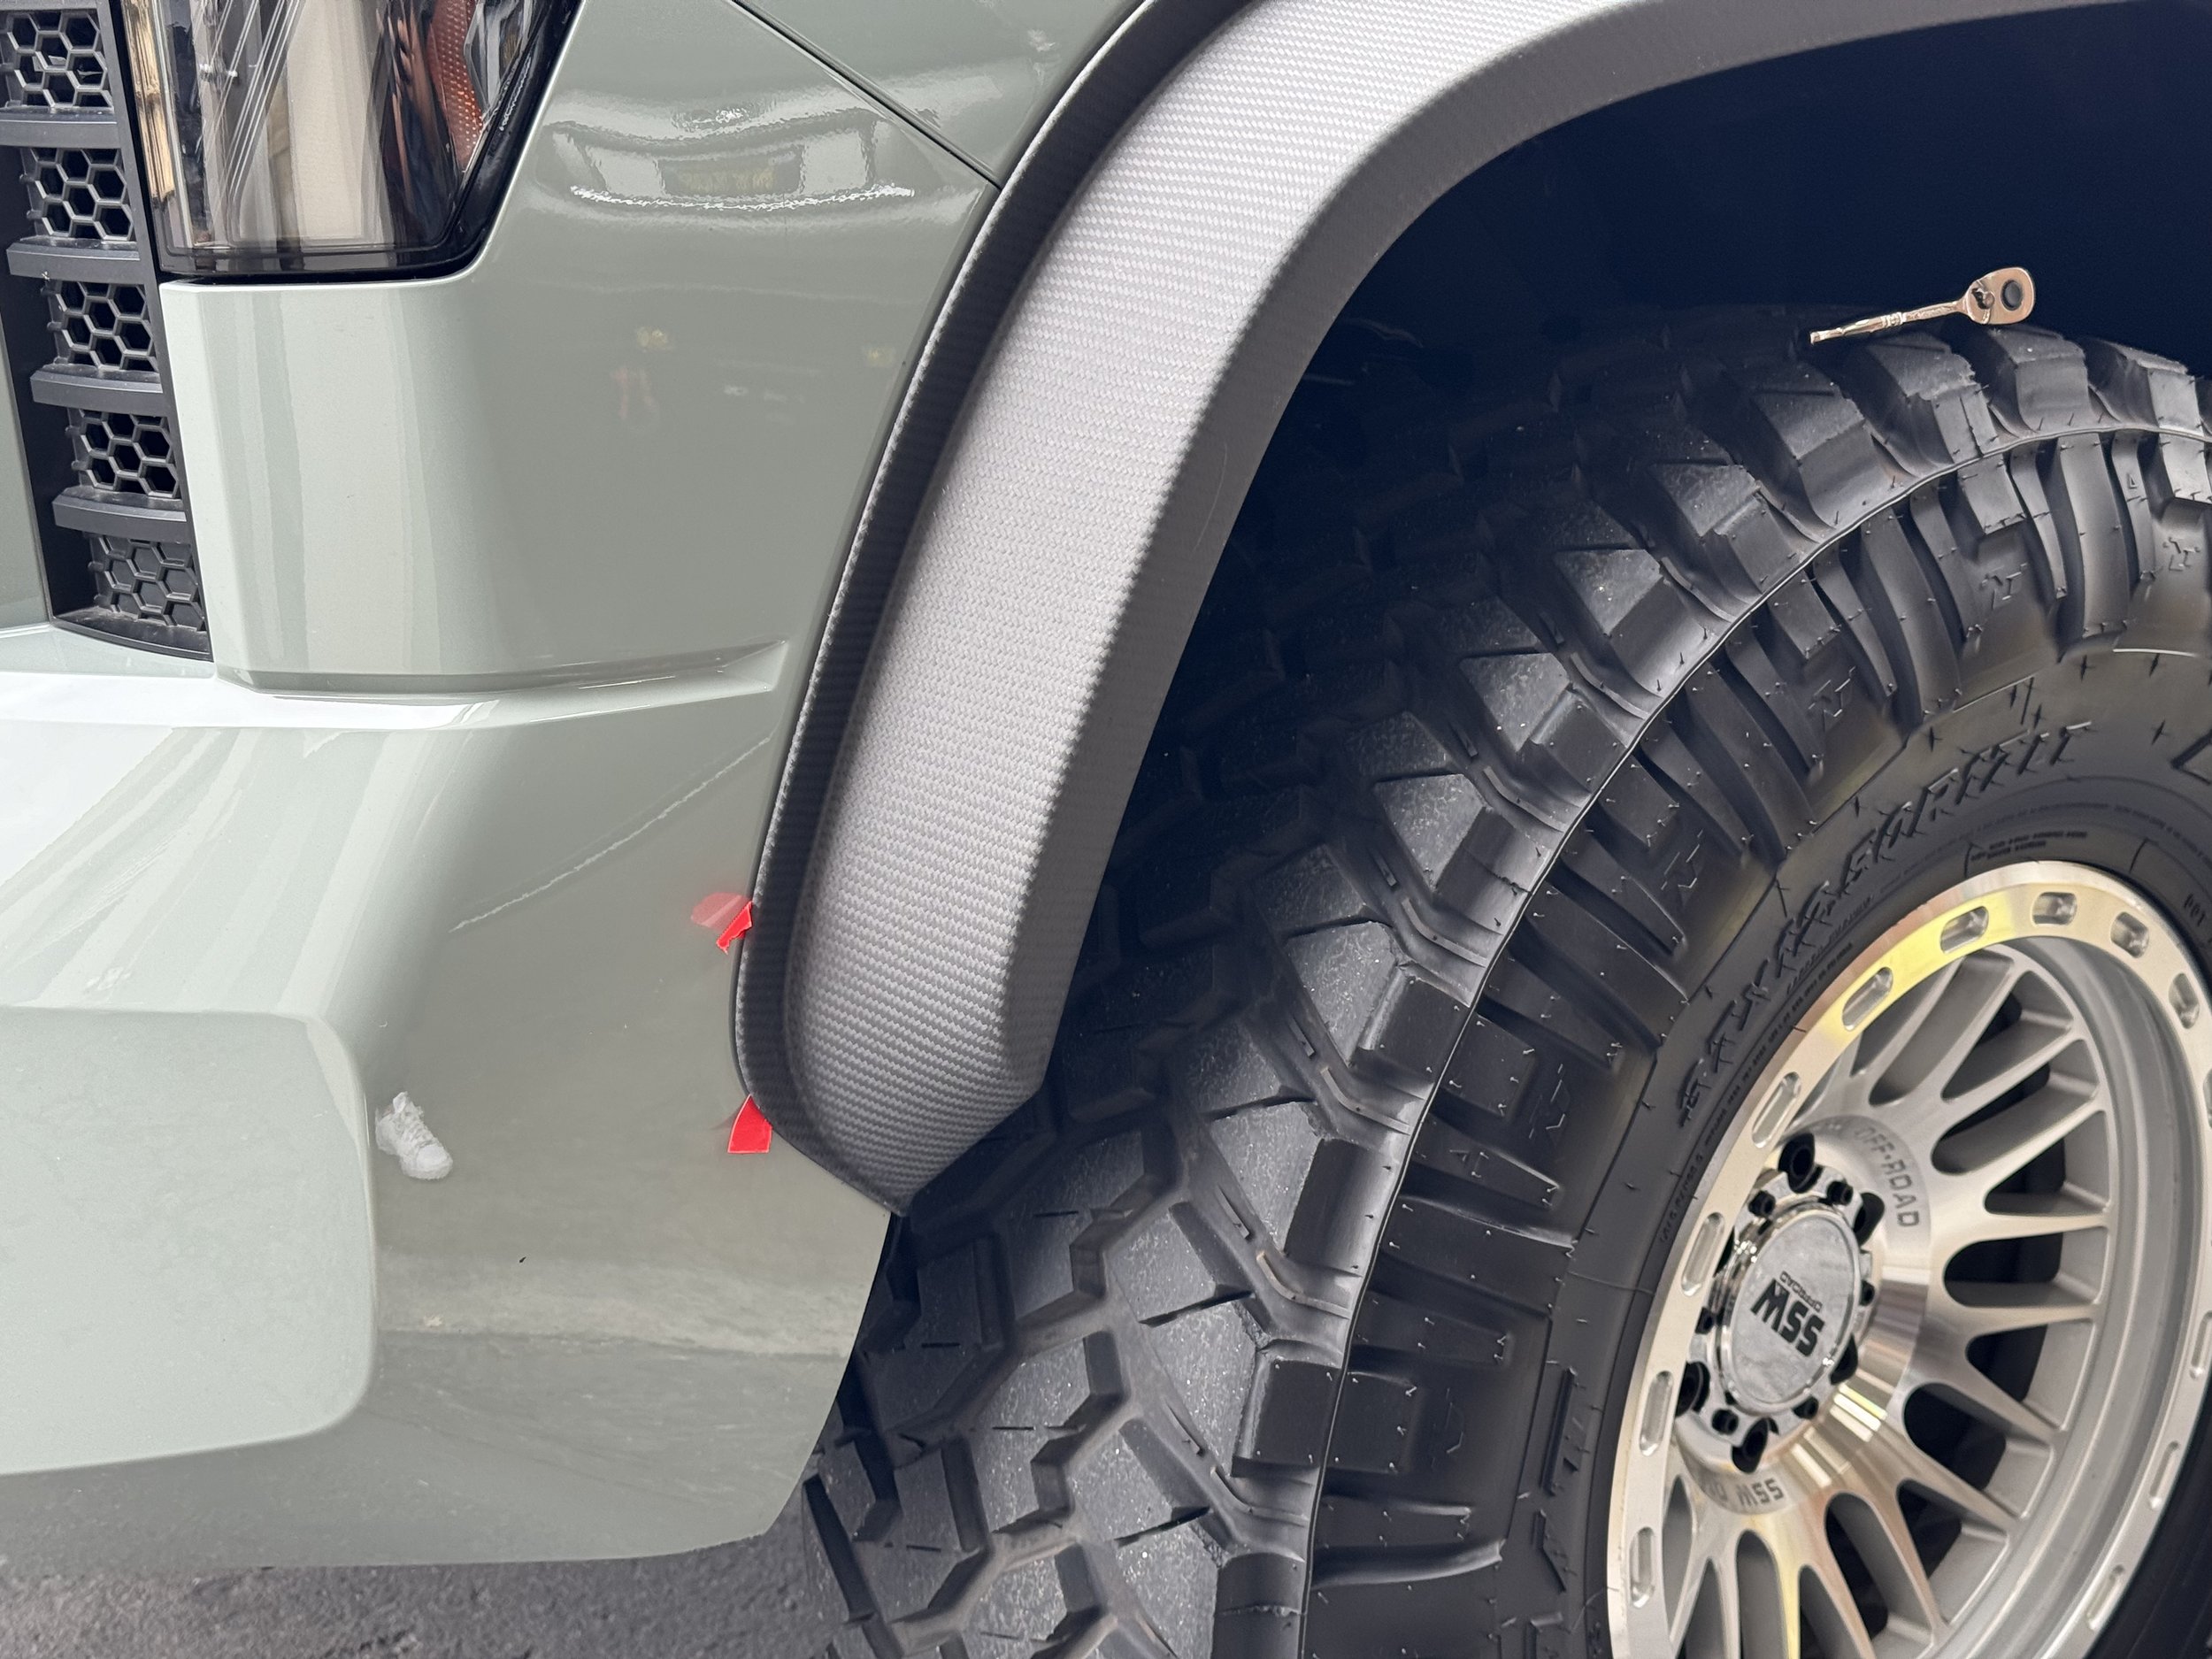
Next, peel off only less than an inch of each end of the tape and leave the backing as shown in the pictures. Then line up each fender flare to the fender, make sure the holes line up correctly.
Loosely install the bolts and/or push pins to help seat the flares into the correct position, before peeling off the backing of the tape and applying even even pressure to help bond the fender flares to the body panel.
For Sequoia rear fender flares, replace the rear push-pins (shown in picture) with equal size screws and use washers to fill in the gap behind, in order to fully secure the fender flares to the body.
Finally, reinstall any unused bolts from the factory fender flares, and tighten up all the bolts until snug. DO NOT over-tighten the bolts to prevent damage to the fender flares.
Enjoy the added protection and improved aesthetics to your vehicle!


